- intro -
저번 프로젝트에서 일반 회원가입&로그인을 구현해보았기 때문에 이번 프로젝트에서는 소셜로그인을 사용해보고자 한다.
국내에서 많이 사용하는 네이버와 카카오 로그인을 사용해볼 예정이다.
OAuth2에 관해 알아햘 내용들은 2024.03.07 - [spring] - Spring Security (스프링 시큐리티) OAuth2 정리 1 에 정리해놓았다.
스프링부트에서 OAuth 2.0을 설정할 때, Spring Security는 인증 및 권한 부여를 담당하는 필터 및 프로세스를 구성한다.
따라서 스프링부트가 자동으로 authorization code를 요청하고 받아오는 작업부터 access token을 사용하여 사용자 정보에 접근하는 작업까지를 수행해준다.
=> 개발자는 복잡한 로직을 직접 구현할 필요 없이 사용자 정보를 가져올 수 있다.
- 구현 -
1. 먼저 네이버와 카카오 API를 사용하기 위해서는 앱등록이 필요하다.
https://developers.kakao.com/console/app 와 https://developers.naver.com/main/ 에서 앱등록을 해주자
redirect Url은 네이버: localhost:8080/login/oauth2/code/naver , 카카오: localhost:8080/login/oauth2/code/kakao 를 사용했다.
(참고: https://bcp0109.tistory.com/379 )
2. 스프링부트 구현
1) build.gradle 설정
dependencies 내에 아래 코드를 추가해주었다.
implementation 'org.springframework.boot:spring-boot-starter-oauth2-client'
compileOnly 'org.springframework.boot:spring-boot-starter-security'
2) yml 설정
spring security 를 사용하여 로그인한 멤버만 접근 가능한 페이지를 만들 예정이기 때문에 security 하위에 oauth2를 넣어주었다.
# JPA
spring:
  security:
    oauth2:
      client:
        registration:
          naver:
            client-id: <발급받은 client-id>
            client-secret: <발급받은 client-secret>
            redirect-uri: "{baseUrl}/login/oauth2/code/{registrationId}"
            authorization-grant-type: authorization_code
            scope:
              - nickname
              - email
          kakao:
            client-id: <발급받은 client-id>
            client-secret: <발급받은 client-secret>
            client-name: Kakao
            client-authentication-method: client_secret_post
            redirect-uri: "{baseUrl}/login/oauth2/code/{registrationId}"
            authorization-grant-type: authorization_code
            scope:
              - profile_nickname
              - account_email
        provider:
          naver:
            authorization-uri: https://nid.naver.com/oauth2.0/authorize
            token-uri: https://nid.naver.com/oauth2.0/token
            user-info-uri: https://openapi.naver.com/v1/nid/me
            user-name-attribute: response
          kakao:
            authorization-uri: https://kauth.kakao.com/oauth/authorize
            tokenUri: https://kauth.kakao.com/oauth/token
            user-info-uri: https://kapi.kakao.com/v2/user/me
            user-name-attribute: id
3) securityConfig 설정
로그인 한 유저만 접근 가능한 url과 로그인하지 않은 유저만 접근 가능한 url 리스트를 만든 후 securityFilterChain 내 authorizeHttpRequests 부분에 원하는 기능을 추가해주었다.
@RequiredArgsConstructor
@EnableWebSecurity
@Configuration
public class SecurityConfig {
	private final CustomOAuth2UserService customOAuth2UserService;
    private final MemberRepository memberRepository;

    //로그인하지 않은 유저들만 접근 가능한 URL
    private static final String[] anonymousMemberUrl = {"/members/loginPage"};
    //로그인한 유저들만 접근 가능한 URL
    private static final String[] authenticatedMemberUrl = {"/members/myPage/**","/members/wishlist","/reviews/write"};

	@Bean
    public SecurityFilterChain securityFilterChain(HttpSecurity httpSecurity, HandlerMappingIntrospector introspector) throws  Exception{
        return httpSecurity
                .csrf(AbstractHttpConfigurer::disable)
                .formLogin(AbstractHttpConfigurer::disable)
                .httpBasic(AbstractHttpConfigurer::disable)
                .authorizeHttpRequests((authorizeRequests)->
                        authorizeRequests
                                //anonymousMemberUrl에 대해서는 익명의 사용자만 접근 가능
                                .requestMatchers(anonymousMemberUrl).anonymous()
                                //authenticatedUserUrl에 대해서는 로그인을 요구
                                .requestMatchers(authenticatedMemberUrl).authenticated()
                                .anyRequest().permitAll()
                )
                .exceptionHandling((exceptionConfig)->
                        exceptionConfig
                                .authenticationEntryPoint(new MyAuthenticationEntryPoint()) //인증 실패

                ) //로그인한 멤버만 접근할 수 있는 url에 로그인하지 않은 사용자가 접근할 경우 로그인 페이지로 이동시킴
                .oauth2Login((oauth2Login)->
                        oauth2Login
                                .loginPage("/loginPage") //로그인 페이지 url
                                .userInfoEndpoint(userInfoEndpointConfig ->
                                        userInfoEndpointConfig.userService(customOAuth2UserService))
                                .successHandler(new OAuth2LoginSuccessHandler())


                ) //로그아웃 시 세션 무효화 및 쿠키삭제
                .logout((logoutConfig)->
                        logoutConfig
                                .logoutUrl("/logout")
                                .invalidateHttpSession(true).deleteCookies("JSESSIONID")
                                .logoutSuccessHandler(new OAuth2LogoutSuccessHandler())
                )
                .build();

    }
4) Member 클래스
간편로그인을 통해 이메일, 닉네임 정보만 가져올 예정이라 단순하게 구현하였다.
@Entity
@Getter
@NoArgsConstructor
public class Member {
    @Id @GeneratedValue(strategy = GenerationType.IDENTITY)
    private Long id;

    private String email;

    private String nickname;

    @Enumerated(EnumType.STRING)
    private Role role;


    @Builder
    public Member(String email, String nickname, Role role){
        this.email=email;
        this.nickname=nickname;
        this.role=role;
    }

    public Member update(String nickname){
        this.nickname=nickname;
        return this;
    }

    public String getRoleKey(){
        return this.role.getKey();
    }
}
@Getter
@RequiredArgsConstructor
public enum Role {
//스프링 시큐리티에서는 권한 코드에 항상 ROLE이 앞에 있어야 함
GUEST("ROLE_GUEST","손님"),
USER("ROLE_USER","일반사용자");
private final String key;
private final String title;
}
5) CustomOAuth2UserService 클래스
유저가 간편로그인 페이지에서 로그인을 완료하면 해당 사용자의 정보를 소셜 로그인 제공업체로부터 가져오는데 이를 CustomOAuth2UserService에서 진행한다.
@Service
@RequiredArgsConstructor
public class CustomOAuth2UserService implements OAuth2UserService<OAuth2UserRequest, OAuth2User> {
    private final MemberRepository memberRepository;
    private final HttpSession httpSession;

    @Override
    public OAuth2User loadUser(OAuth2UserRequest userRequest) throws OAuth2AuthenticationException {
        //DefaultOAuth2UserService는 OAuth2UserService 구현체 중 하나로 OAuth2 사용자 정보를 가져오는데 사용됨
        OAuth2UserService<OAuth2UserRequest,OAuth2User> delegate = new DefaultOAuth2UserService();
        // 소셜 로그인 제공업체로부터 받은 사용자 정보를 OAuth2User 객체에 저장
        OAuth2User oAuth2User = delegate.loadUser(userRequest);
        // registrationId: naver 또는 kakao
        String registrationId = userRequest.getClientRegistration().getRegistrationId();
        String userNameAttributeName = userRequest.getClientRegistration().getProviderDetails().getUserInfoEndpoint().getUserNameAttributeName();
        // 사용자의 소셜로그인에 대한 세부 정보를 attributes 객체에 저장
        OAuthAttributes attributes = OAuthAttributes.of(registrationId, userNameAttributeName, oAuth2User.getAttributes());

        // attributes 객체의 email 속성을 사용하여 멤버객체를 생성하거나 업데이트
        Member member = saveOrUpdate(attributes);

        //세션에 사용자 정보를 저장
        httpSession.setAttribute("user",new SessionUser(member));
        //세션 유지시간을 60분으로 제한
        httpSession.setMaxInactiveInterval(3600);

        //DefaultOAuth2User 객체를 생성하여 인증된 사용자를 나타냄 -> 인증 및 권한을 부여할 때 사용
        return new DefaultOAuth2User(
                Collections.singleton(new SimpleGrantedAuthority(member.getRoleKey())),
                attributes.getAttributes(),
                attributes.getNameAttributeKey()
        );
    }

    // 이메일을 통해 회원인지 확인 후 회원이 아니면 memberRepository 에 저장
    private Member saveOrUpdate(OAuthAttributes attributes) {
        Member member = memberRepository.findByEmail(attributes.getEmail())
                .map(entity -> entity.update(attributes.getNickname()))
                .orElse(attributes.toEntity());
        return memberRepository.save(member);
    }
}
6) OAuthAttributes 클래스
사용자의 소셜로그인에 대한 세부정보를 저장하기 위한 객체이다.
@Getter
@Builder
public class OAuthAttributes {
    private Map<String, Object> attributes;
    private String nameAttributeKey;
    private String email;
    private String nickname;

    public static OAuthAttributes of(String registrationId, String userNameAttributeName, Map<String,Object> attributes){
        // naver 와 kakao 로부터 사용자 정보를 받아올 때 json 내에 이메일과 닉네임이 들어있는 키값이 일치하지 않기 때문에 함수를 각각 따로 만들었다.
        if("naver".equals(registrationId)){
            return ofNaver("id",attributes);
        } else{
            return ofKakao("id",attributes);
        }
    }

    private static OAuthAttributes ofNaver(String userNameAttributeName,Map<String,Object>attributes){
        // attributes 를 콘솔에 찍어보면 response내에 email과 nickname 정보가 들어있음을 확인할 수 있다.
        Map<String, Object> response = (Map<String, Object>) attributes.get("response");
        return OAuthAttributes.builder()
                .email((String)response.get("email"))
                .nickname((String) response.get("nickname"))
                .attributes(response)
                .nameAttributeKey(userNameAttributeName)
                .build();
    }
    private static OAuthAttributes ofKakao(String userNameAttributeName,Map<String,Object>attributes){
        Map<String, Object> response = (Map<String, Object>) attributes.get("kakao_account");
        // 카카오는 profile 내에 nickname 정보가 있어 한번 response.get 을 진행한다.
        Map<String, Object> account = (Map<String, Object>) response.get("profile");
        return OAuthAttributes.builder()
                .email((String) response.get("email"))
                .nickname((String) account.get("nickname"))
                .attributes(attributes)
                .nameAttributeKey(userNameAttributeName)
                .build();
    }
    public Member toEntity(){
        return Member.builder()
                .nickname(nickname)
                .email(email)
                .role(Role.USER)
                .build();
    }
}
7) SessionUser 클래스
세션에 사용자 정보를 저장하기 위한 dto 클래스이다.
@Getter
public class SessionUser implements Serializable {
    private String nickname;
    private String email;

    public SessionUser(Member member){
        this.email=member.getEmail();
        this.nickname=member.getNickname();
    }
}
8) OAuth2LoginSuccessHandler 클래스
로그인 성공시 발생하는 핸들러이다. 로그인에 성공하면 'alert창에 로그인에 성공하였습니다' 문구를 띄워준다.
@AllArgsConstructor
@Slf4j
@Component
public class OAuth2LoginSuccessHandler implements AuthenticationSuccessHandler {

    //로그인 성공시 발생하는 핸들러
    @Override
    public void onAuthenticationSuccess(HttpServletRequest request, HttpServletResponse response, Authentication authentication) throws IOException, ServletException {
        //성공 시 메세지 출력 후 홈 화면으로 redirect
        response.setContentType("text/html; charset=UTF-8");
        PrintWriter pw = response.getWriter();
        String prevPage = (String) request.getSession().getAttribute("prevPage");
        if(prevPage!=null){
            pw.println("<script>alert('로그인에 성공하였습니다!'); location.href='" + prevPage + "';</script>");
        } else{
            pw.println("<script>alert('로그인에 성공하였습니다!'); location.href='/';</script>");
        }

        pw.flush();
    }
}
9) OAuth2LogoutSuccessHandler 클래스
public class OAuth2LogoutSuccessHandler implements LogoutSuccessHandler {

    //로그아웃 시 사용되는 핸들러
    @Override
    public void onLogoutSuccess(HttpServletRequest request, HttpServletResponse response, Authentication authentication) throws IOException, ServletException {
        response.setContentType("text/html");
        PrintWriter out = response.getWriter();
        out.println("<script>alert('로그아웃 되었습니다.'); location.href='/';</script>");
        out.flush();
    }
}
10) Controller 클래스
MemberController 내에 로그인 url을 처리하는 함수를 구현하였다.
이전 uri를 저장해놓고 네이버 로그인 또는 카카오톡 로그인을 할 수 있는 페이지를 반환한다.
@GetMapping("/loginPage")
public String loginPage(Model model, HttpServletRequest request) {
    // 로그인 성공 시 이전 페이지로 redirect 되게 하기 위해 세션에 저장
    String uri = request.getHeader("Referer");
    if (uri != null && !uri.contains("/login") && !uri.contains("/join")) {
        request.getSession().setAttribute("prevPage", uri);
    }
    return "/members/loginPage";
}
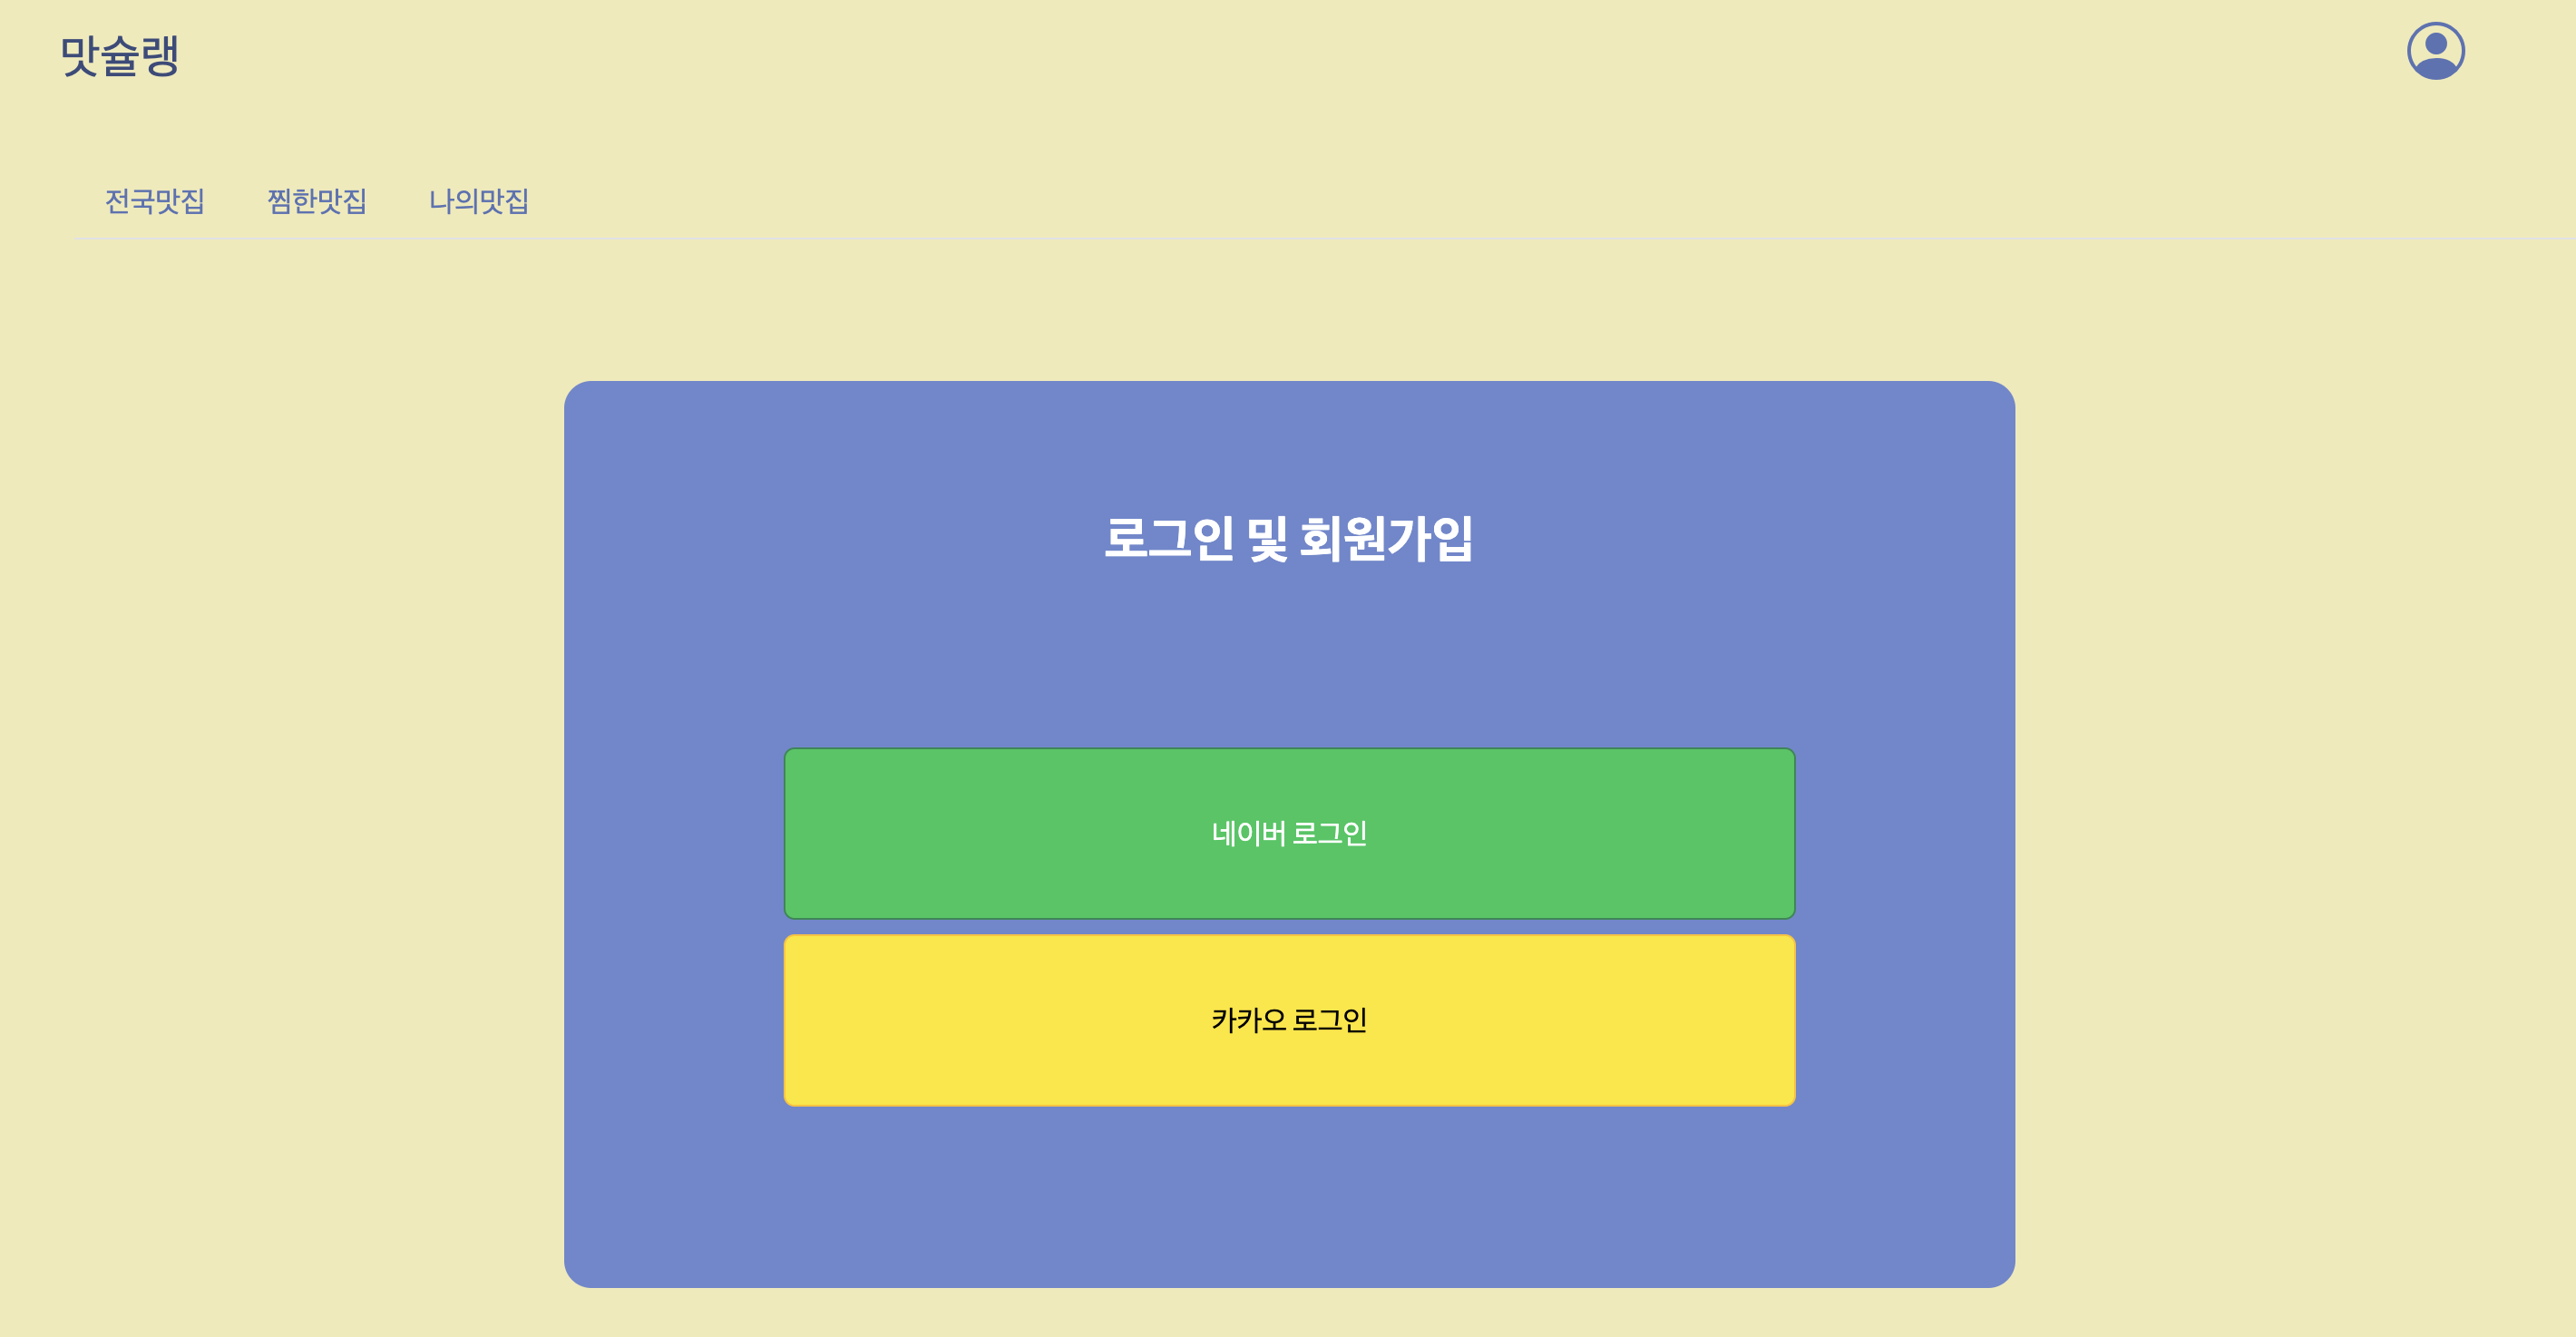
11) loginPage.html
부트 스트랩을 이용하여 간편하게 로그인 할 수 있는 페이지를 만들었다.
<!DOCTYPE html>
<html lang="ko" xmlns:th="http://www.thymeleaf.org" xmlns:sec="http://www.thymeleaf.org/extras/spring-security">
<head th:replace="fragments/header.html :: head"/>
<body style="background-color:#F0EAB7;">
<div th:replace="fragments/header.html :: header ('')"/>
<section class="features-icons bg-light text-center">
    <div class="container position-relative">
        <div class="row justify-content-center">
            <div class="row justify-content-center" style="width:800px; height:500px; background-color:#6D88CE; border-radius:15px;">
                <div class="text-center text-white" style="margin-top:70px;">
                    <!-- Page heading-->
                    <h3>로그인 및 회원가입</h3>
                </div>
                <div class="d-grid gap-2 col-9 mx-auto" style="margin-bottom:100px;">
                    <button class="btn btn-success" type="button" onclick="location.href= '/oauth2/authorization/naver'">네이버 로그인</button>
                    <button class="btn btn-warning" type="button" onclick="location.href= '/oauth2/authorization/kakao'">카카오 로그인</button>
                </div>
            </div>
        </div>
    </div>
</section>
<!-- Bootstrap core JS-->
<script src="https://cdn.jsdelivr.net/npm/bootstrap@5.2.3/dist/js/bootstrap.bundle.min.js"></script>
<!-- Core theme JS-->
<script src="js/scripts.js"></script>
<!-- * * * * * * * * * * * * * * * * * * * * * * * * * * * * * * * * * * * * * * * *-->
<!-- * *                               SB Forms JS                               * *-->

<!-- * * * * * * * * * * * * * * * * * * * * * * * * * * * * * * * * * * * * * * * *-->
<script src="https://cdn.startbootstrap.com/sb-forms-latest.js"></script>
</body>
</html>
- 결과 -
로그인 페이지
'web > 맛슐랭 Project' 카테고리의 다른 글
| 맛슐랭 - 맛집 리뷰 생성을 위한 Repository 구현 (0) | 2024.03.27 |
|---|---|
| 맛슐랭 - 엔티티 등록 (0) | 2024.03.27 |
| 맛슐랭 - 카카오 지도 API 사용하기 (0) | 2024.03.27 |
| 맛슐랭 - db 설계 (0) | 2024.03.27 |
| 맛슐랭 - UI 설계 (0) | 2024.03.16 |


